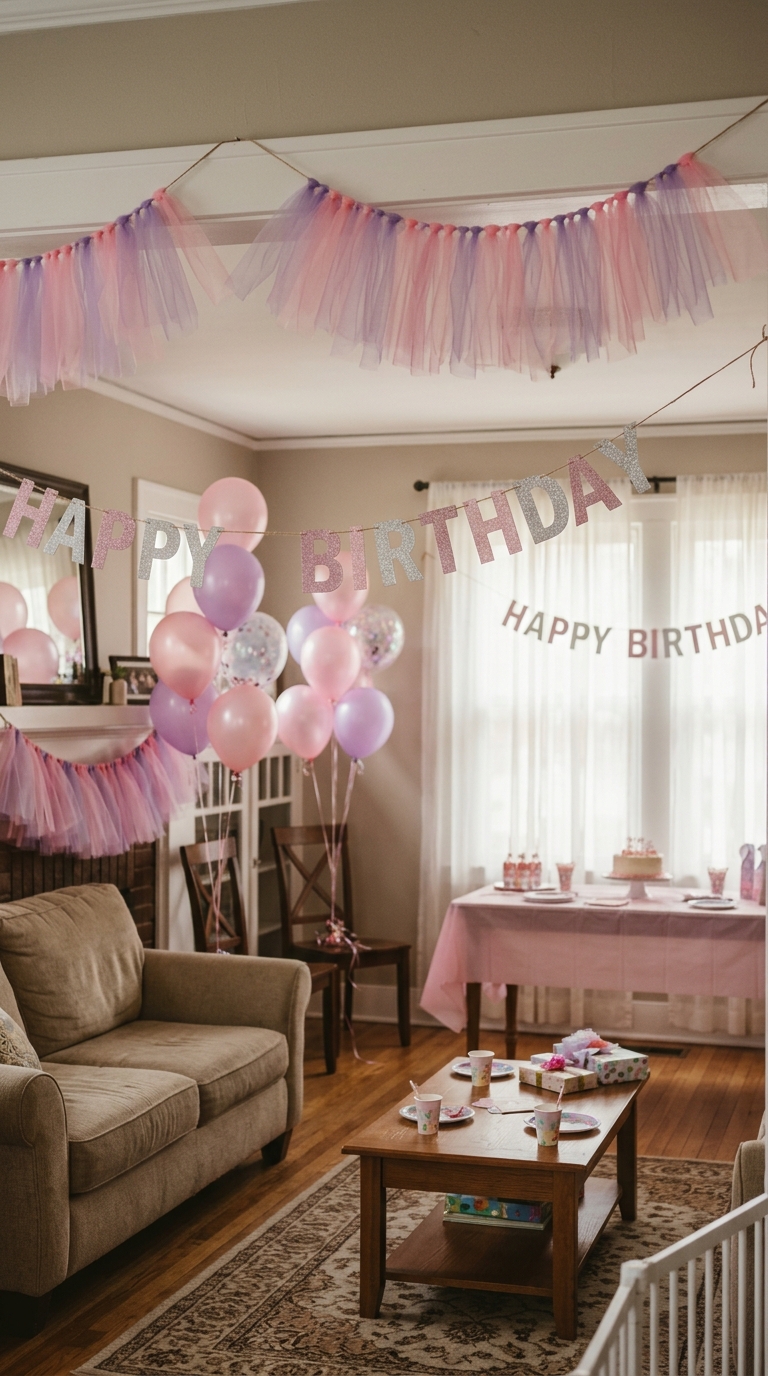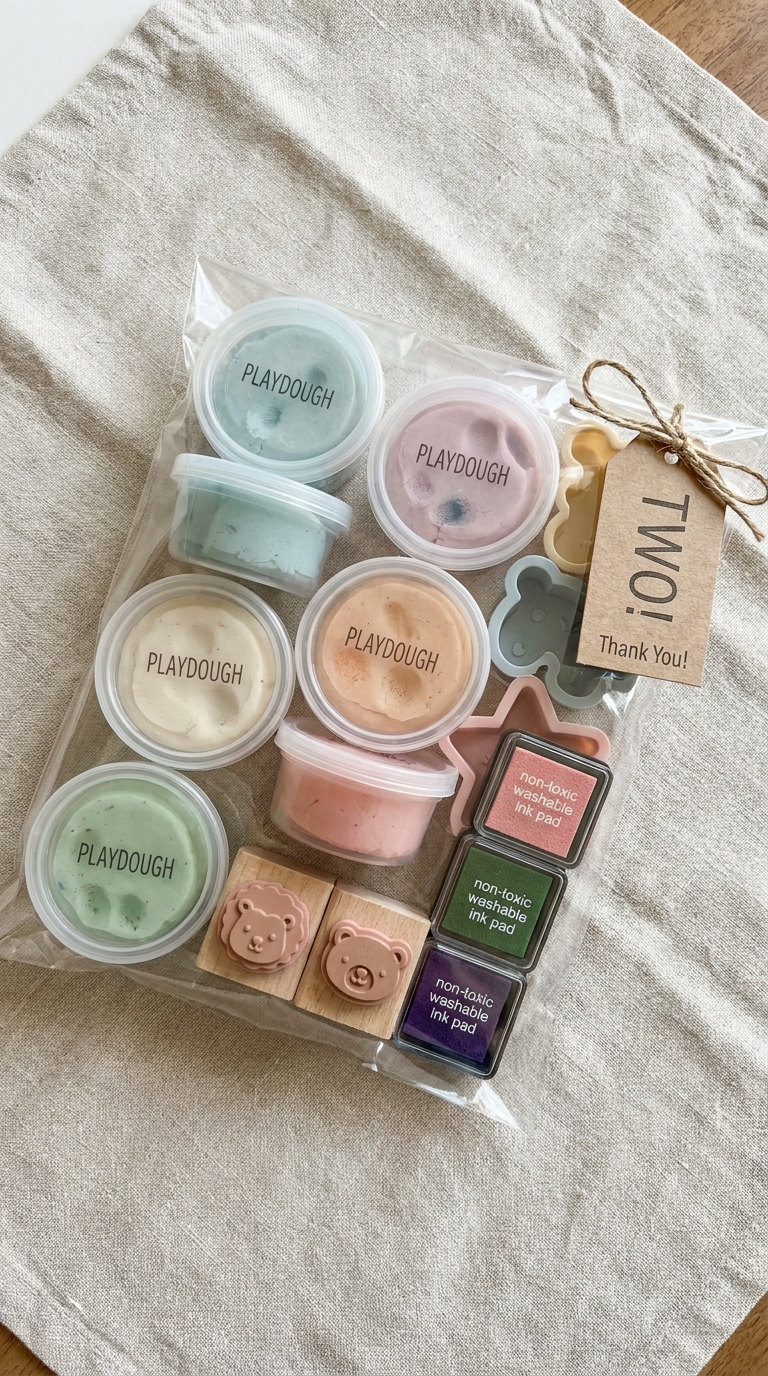
16 Easy 2nd Birthday Decoration Ideas at Home on a Budget
Gorgeous 2nd birthday decorations don’t require a big budget—these 16 clever at-home ideas prove it, and number seven will completely change how you decorate.
A second birthday is a tiny milestone that carries enormous weight—it’s proof your little one made it through the chaos of year one, and so did you. You don’t need a Pinterest-worthy budget to pull off something special. These 16 decoration ideas use dollar store finds, leftover craft supplies, and a little creativity. Some cost under $5. Keep going, because a few of these will genuinely surprise you.
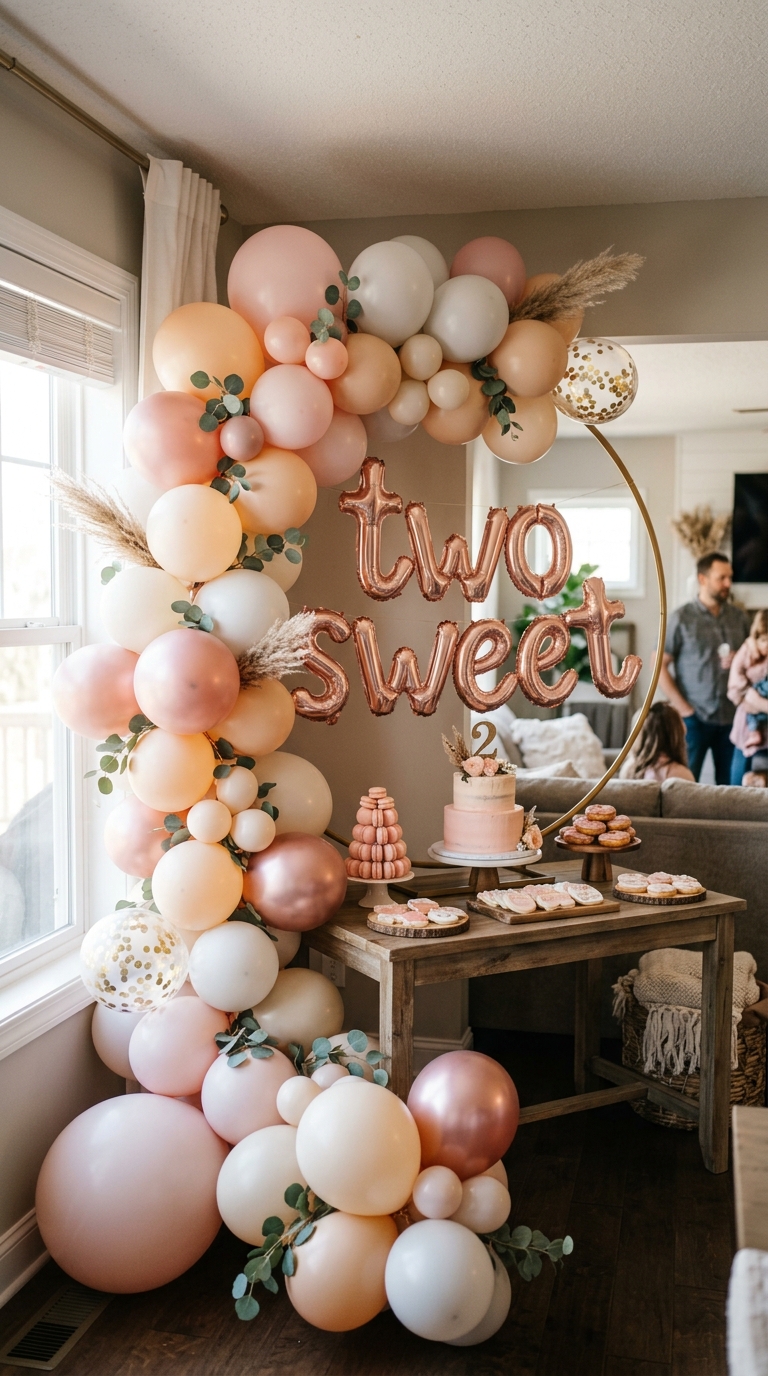
Make a DIY Balloon Garland for Under $10
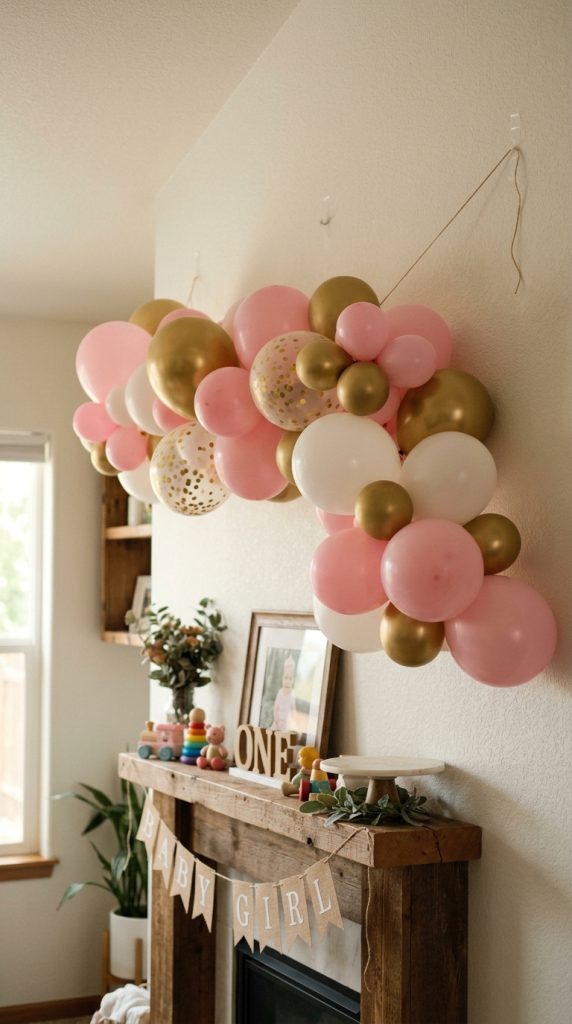
Balloon garlands look like they cost a fortune, but they’re actually one of the most budget-friendly decorations you can make. Grab a pack of assorted balloons from your dollar store, and you’re already halfway there.
Try color blocking by grouping two or three colors together in sections along your garland. It creates a polished, intentional look without requiring any design skills. Pink, gold, and white work beautifully for a second birthday theme.
You don’t need balloon twisting proficiency either. Simply tie balloons together in small clusters of four, then attach them to a simple plastic decorating strip or fishing line. Hang it above your dessert table or doorway for maximum impact. Total cost? Usually under $10, and honestly, it photographs better than most store-bought alternatives. If you want to take your setup even further, pairing your garland with a few elegant centerpiece designs can give your dessert table a truly professional, styled finish.
Hang a Homemade “TWO” Banner Using Craft Paper
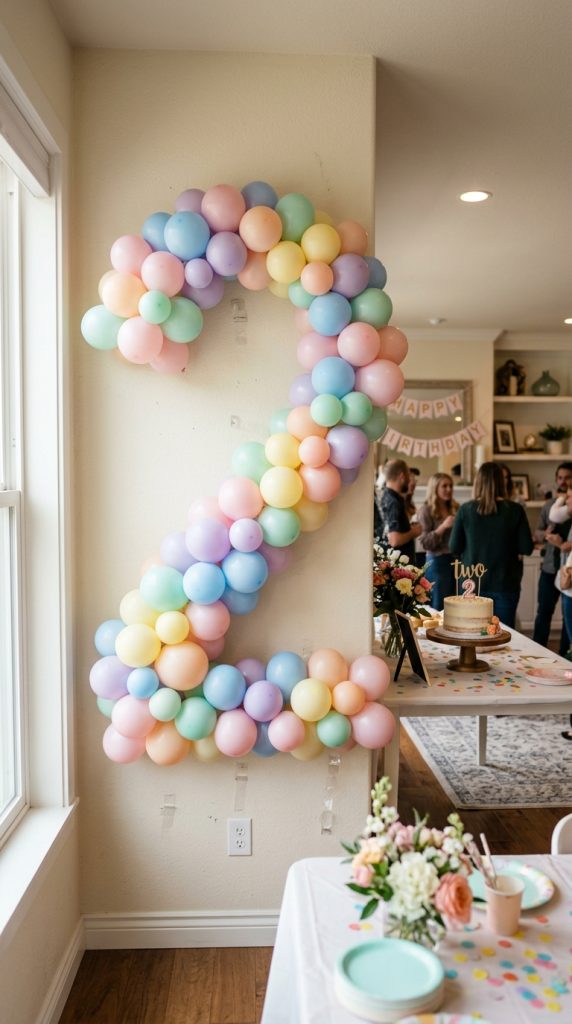
A simple “TWO” banner might be the most underrated decoration at any second birthday party. Grab some craft paper, scissors, and twine, and you’ve got yourself a charming centerpiece in under an hour.
Here’s how to make it shine:
- Cut large block letters from colorful craft paper
- Use color coordination to match your party theme perfectly
- Try pattern mixing with polka dots, stripes, or solid colors for visual interest
- String letters together using twine or ribbon for easy hanging
Don’t overthink it. Imperfect hand-cut letters actually add personality and warmth that store-bought banners simply can’t replicate. Position your banner above the dessert table or main party area for maximum impact. Total cost? Usually under five dollars. For an extra touch of charm, consider pairing your banner with a whimsical tutu-themed color palette of soft pinks and pastels to create a cohesive and dreamy party aesthetic.
Build a Balloon Number 2 Display for Almost Nothing
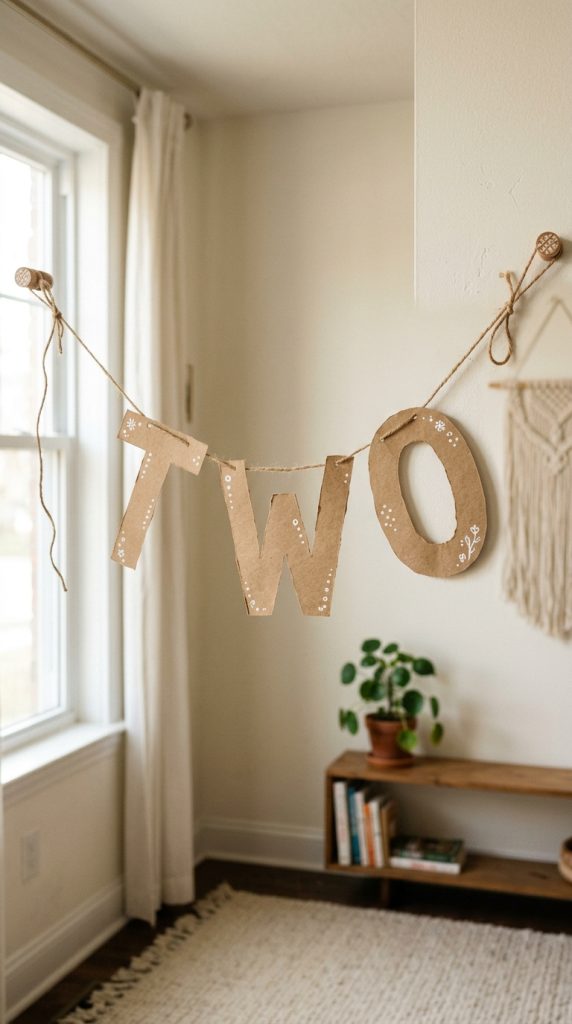
Creativity stretches a dollar further than almost any party supply store will, and nowhere is that more true than with a number 2 balloon display. Instead of buying expensive foil number balloons, use regular latex balloons as balloon alternatives and arrange them into a “2” shape against a wall.
Here’s how: tape a curved row of balloons for the top arch, then add a diagonal line going down and right, followed by a straight bottom row. It’s easier than it sounds, I promise.
For cost saving tips, buy balloons in bulk bags rather than individually — you’ll spend under $5 total. Use painter’s tape to secure everything without damaging walls. The result looks intentional, festive, and honestly impressive for the price.
Create a Streamer Ceiling in Under 20 Minutes
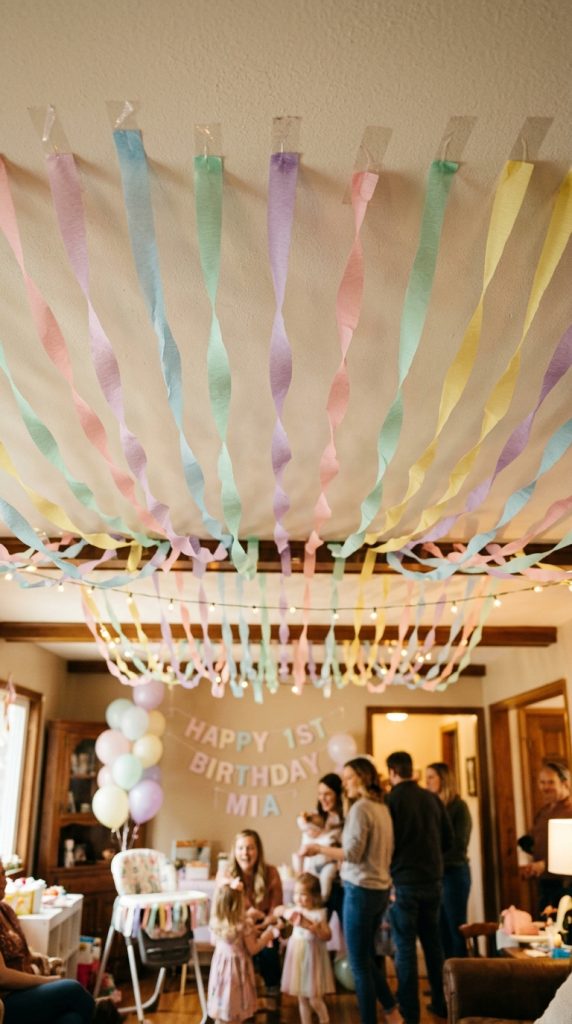
Once your balloon number 2 is up and looking great, it’s time to look overhead — because a streamer ceiling alters a plain room into something that feels genuinely magical, and it’s shockingly fast to pull off.
Here’s how to do it with serious time efficiency:
- Pick two or three colors for strong color coordination — avoid grabbing every roll you own.
- Twist streamers loosely before hanging for an effortless, flowing effect.
- Tape one end across the room, then walk it to the opposite wall.
- Alternate colors with each strip for visual balance.
You’ll finish before the birthday cake is even frosted. Seriously — twenty minutes, minimal effort, maximum impact. Your ceiling becomes the party’s secret weapon. Just like with coordinated linens and centerpieces, keeping your streamer colors tied to your overall party palette creates a cohesive, polished look that feels intentional rather than thrown together.
Turn Tissue Paper Into a Pom-Pom Wall Display
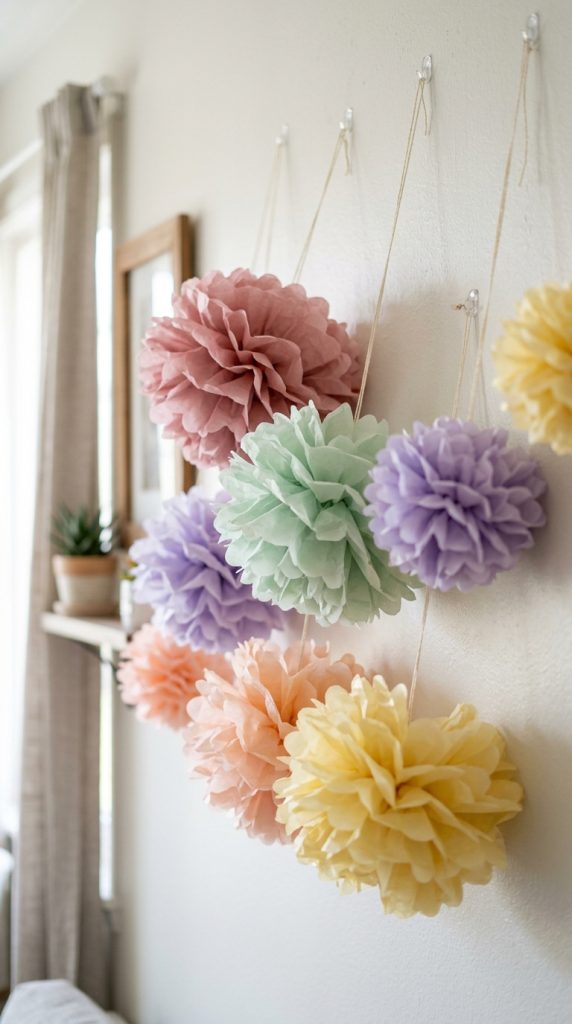
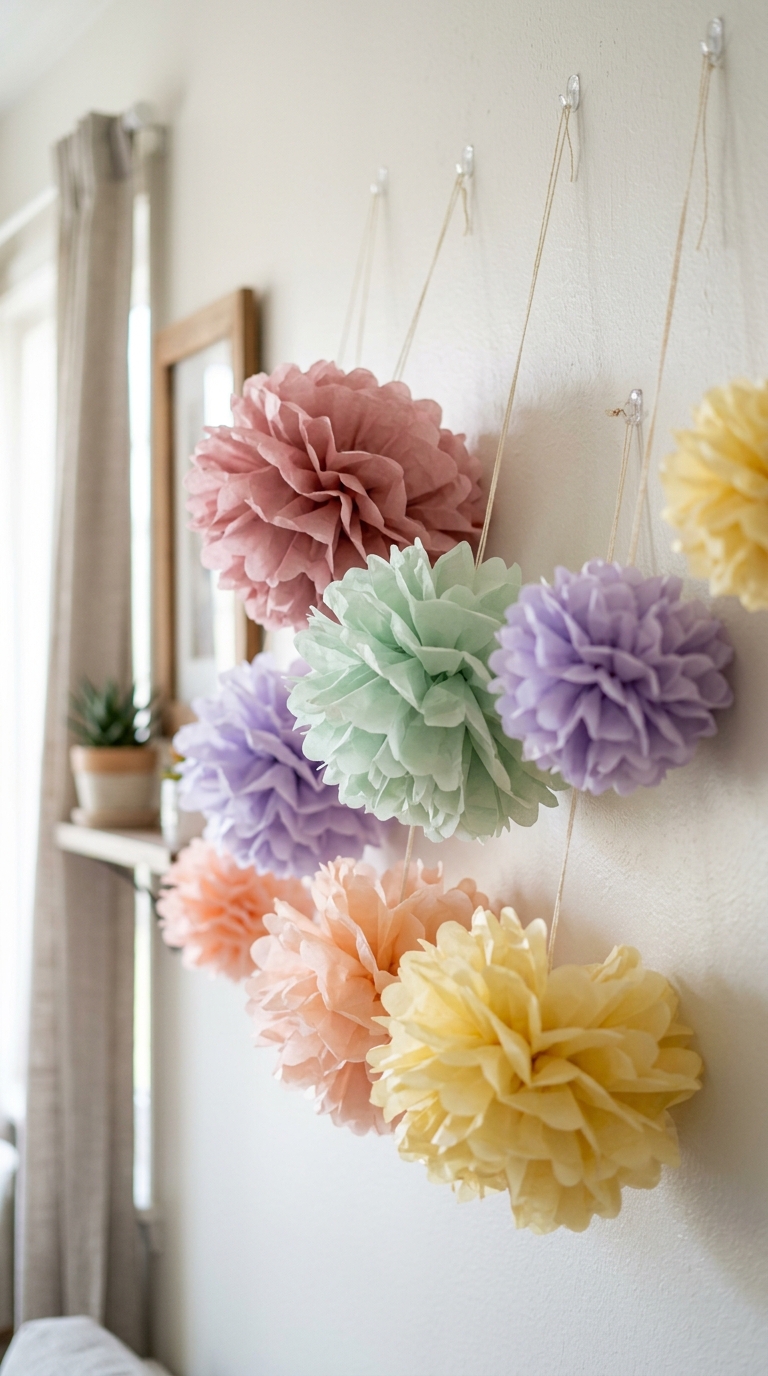
Tissue paper pom-poms are one of those decorations that look like they came straight from a party store — but they’re secretly one of the cheapest, easiest things you can make at home.
For tissue paper crafting, stack about eight sheets, fold them accordion-style, pinch the center with a twist tie or pipe cleaner, and fan out each layer. That’s basically it.
Pom-pom assembly gets even easier when you vary the sizes — mix large and small ones for a layered, lively wall display. Use fishing line or ribbon to hang them at different heights against a plain wall.
A pack of tissue paper costs under $3 and makes several pom-poms, making this one of the best budget wins for your toddler’s party setup. If you’re planning around a specific theme, pom-poms in coordinating colors work beautifully with two-year-old boy themes like dinosaurs, construction, or superheroes.
Dress Up Windows to Set the Party Mood
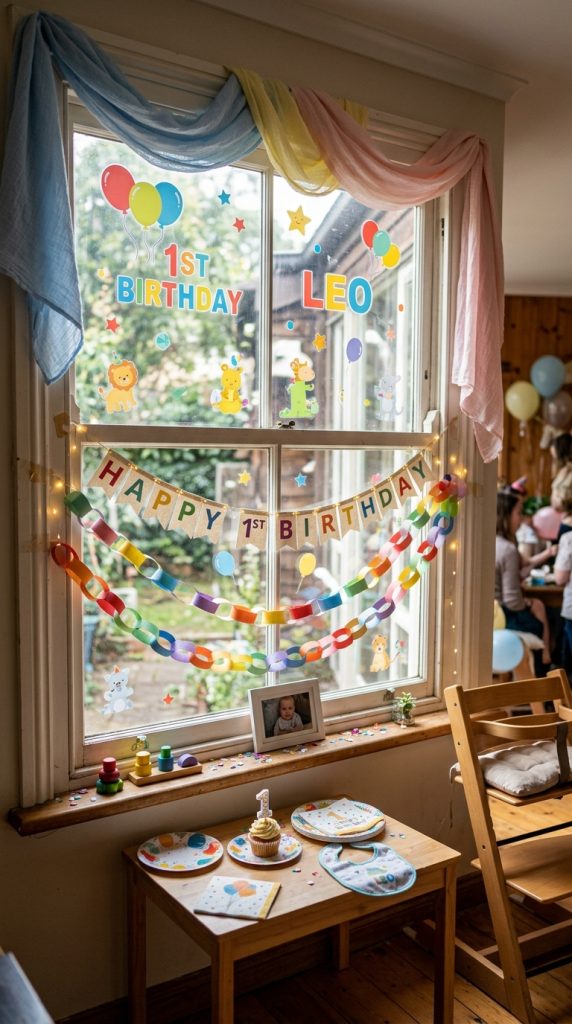
Windows are an underrated decorating spot — most people walk right past them and head straight for the walls. Don’t make that mistake! A few simple touches convert plain glass into something magical.
Here’s what works beautifully:
- Apply colorful window clings featuring balloons, stars, or your toddler’s favorite characters
- Use fabric draping with lightweight tulle or ribbon across the curtain rod for softness
- Hang paper chains or streamers between the window frame corners
- Tape a happy birthday banner directly across the glass itself
Window clings are especially budget-friendly since they’re reusable and damage-free. Fabric draping adds elegance without spending much. Natural light streaming through colored decorations creates a gorgeous, festive glow throughout your whole party space.
Set Up a Dollar Store Tablecloth Backdrop That Looks Polished
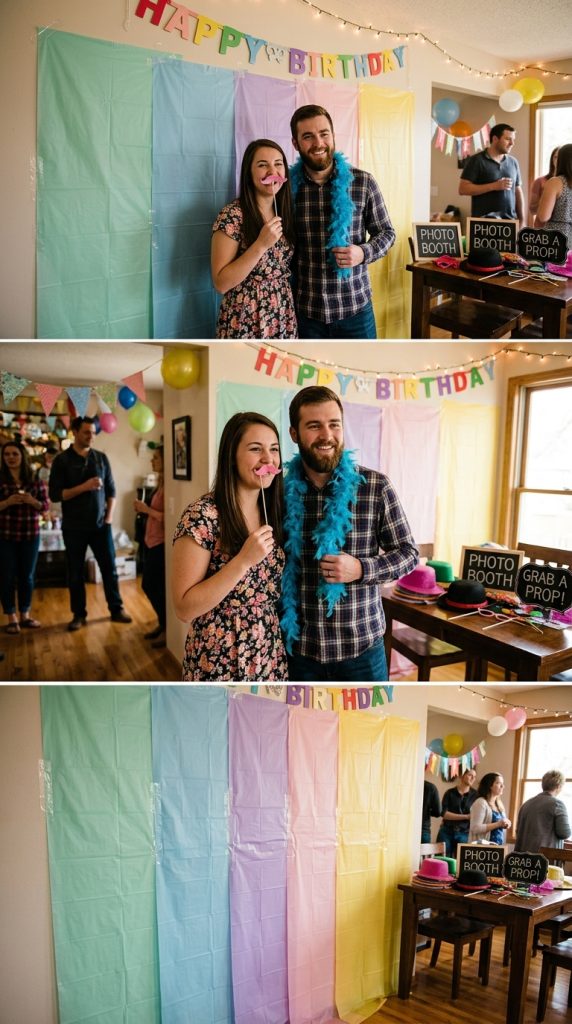
The humble dollar store tablecloak is one of my favorite party hacks — and honestly, it’s a revolutionary solution for creating a polished backdrop on almost no budget. Grab two or three plastic tablecloths in complementary shades for smart color coordination that ties your whole theme together.
Tape them side by side against a wall, overlapping edges slightly to hide any gaps. Want backdrop texture without extra cost? Scrunch or gather the tablecloth before securing it — that simple technique adds dimension and visual interest instantly.
You can also layer different colors vertically for a striped effect that photographs beautifully. Position your birthday child in front, and suddenly you’ve got a professional-looking photo station. For the best results, make sure your toddler is placed at eye-level with the camera to capture more flattering and engaging birthday portraits. Party guests will genuinely assume you spent way more than you actually did.
Arrange Budget Balloon Centerpieces for the Birthday Table
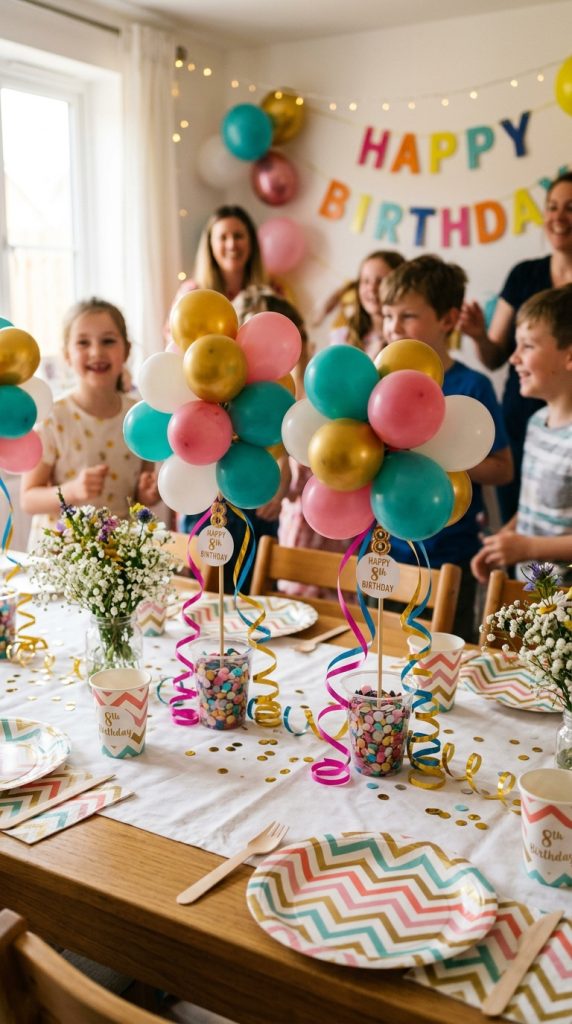
Balloons are honestly one of the best budget party investments you’ll ever make — a bag of latex balloons costs just a dollar or two, yet they instantly change any table into a real celebration zone. Focus on color coordination first, matching your balloon shades to your overall theme.
Here’s how to build a simple centerpiece:
- Inflate three balloons in coordinating colors
- Tie them together at the knots
- Anchor the bunch inside a small weighted cup
- Add curling ribbon for a polished finish
No balloon twisting skills required here — basic clusters genuinely look outstanding. Keep centerpieces low enough that guests can see each other across the table. That small detail makes a surprisingly big difference in how welcoming your setup feels.
Transform Glass Jars Into Charming 2nd Birthday Décor
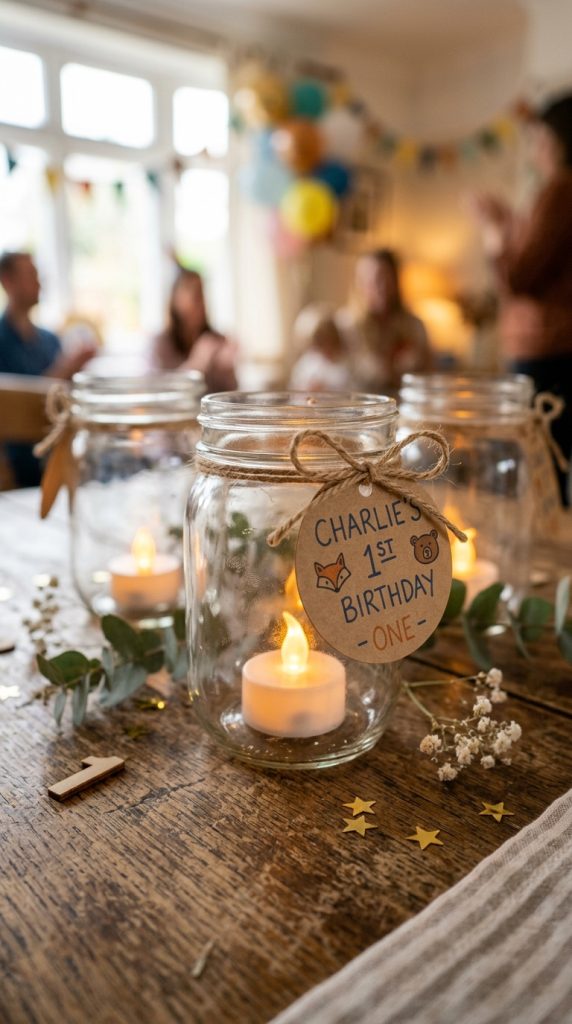
Glass jars are one of those magical party supplies hiding right in your recycling bin — and they cost absolutely nothing. Clean them up, and you’ve got instant décor waiting to happen.
For jar lighting, drop a battery-powered tea light inside each jar and watch them glow warmly across your party table. It’s surprisingly beautiful for something so simple.
Want more personality? Try painted patterns directly onto the glass using acrylic craft paint. Polka dots, stripes, or even a simple “2” make each jar feel intentional and festive. Let them dry completely before adding flowers, colorful candy, or small toys inside.
Group three to five jars together at different heights using small books or wooden blocks underneath. That layered look makes everything feel professionally styled without spending a single extra dollar.
For a playful twist, fill a jar with water and drop in a small rubber duck to create a water-inspired centerpiece that fits perfectly with a rubber ducky party theme.
Print Free Birthday Signs and Frame Them Instantly
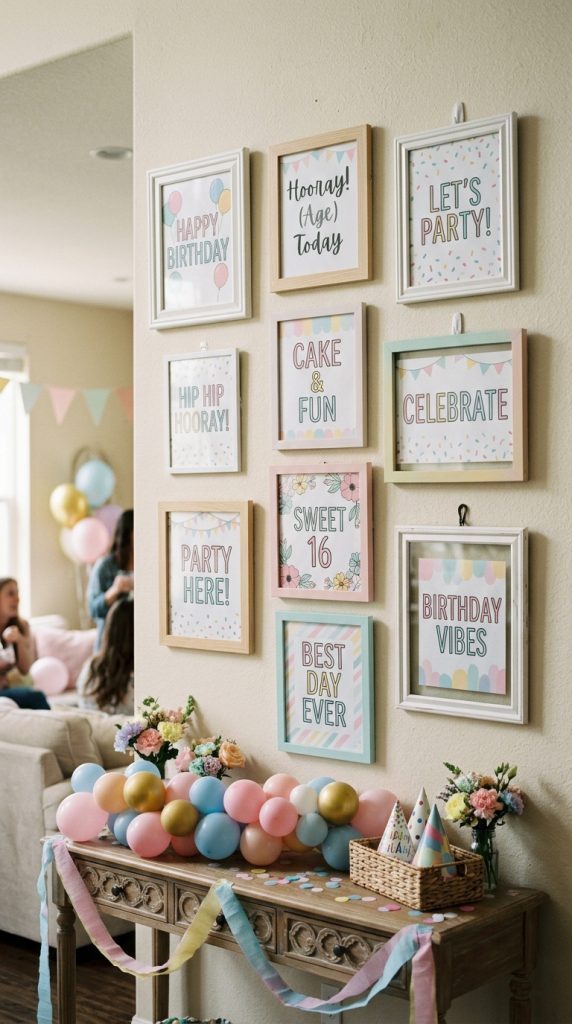
Free printables are genuinely one of the best-kept secrets in budget party planning. You can download beautiful printable designs online completely free, then print and frame them within minutes.
Here’s exactly how to make it work:
- Search Pinterest or Etsy for free “2nd birthday printable signs”
- Download your favorite designs and print them at home or at your local library
- Grab dollar store frames for instant framing without spending much
- Arrange multiple framed signs together for a stunning display wall
The whole setup costs you almost nothing. Frames from the dollar store run about $1 each, and you’re creating décor that looks genuinely professional. If you want to go beyond signage, you can also find cute birthday invitations designed specifically for a girl’s second birthday to match your overall party theme. Guests won’t believe you didn’t hire a decorator — and honestly, that reaction is priceless.
String Up a Photo Display With Twine and Clothespins
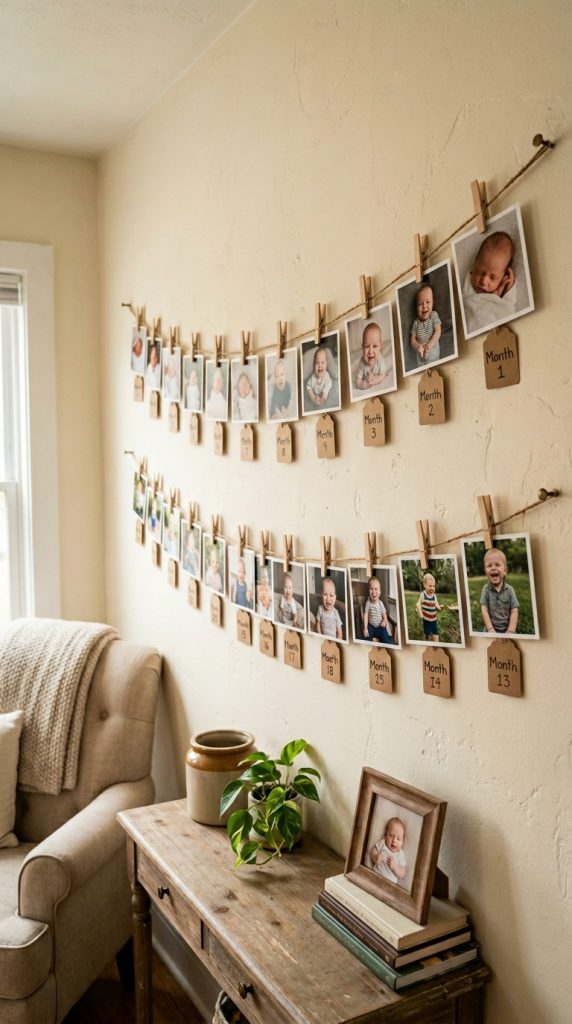
A simple strand of twine stretched across the wall can turn your baby’s most precious photos into a showstopping display — and it costs almost nothing. Pick up basic crafting twine and wooden clothespin clips from the dollar store, and you’re already set.
Print your favorite photo memories in small 4×6 sizes, either at home or through a budget printing app like Walgreens Photo. Arrange them chronologically across the twine — month one through month twenty-four — so guests can literally watch your little one grow up right before their eyes.
Pro tip: mix in a few handwritten birthday tags between the photos for extra personality. It looks intentional, charming, and honestly? Nobody needs to know it took you twenty minutes total. To make the display even more special, consider setting aside time during the party to capture a family portrait moment that will anchor the collection for years to come.
Style a Snack Table That Doubles as Party Décor
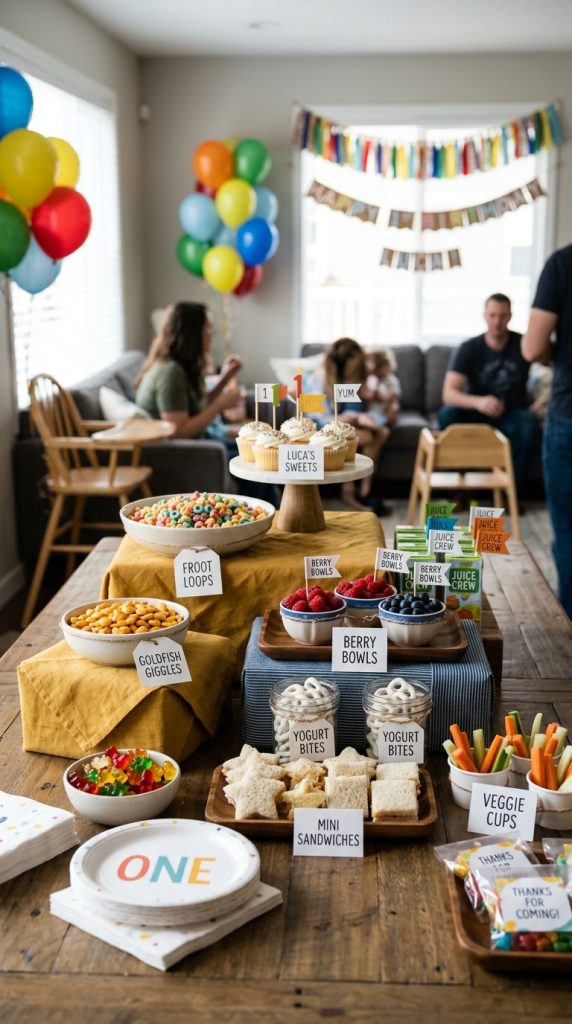
Your snack table can pull double duty as one of the prettiest spots in the room — and it doesn’t have to cost much to make it happen.
Here’s how to style it smartly:
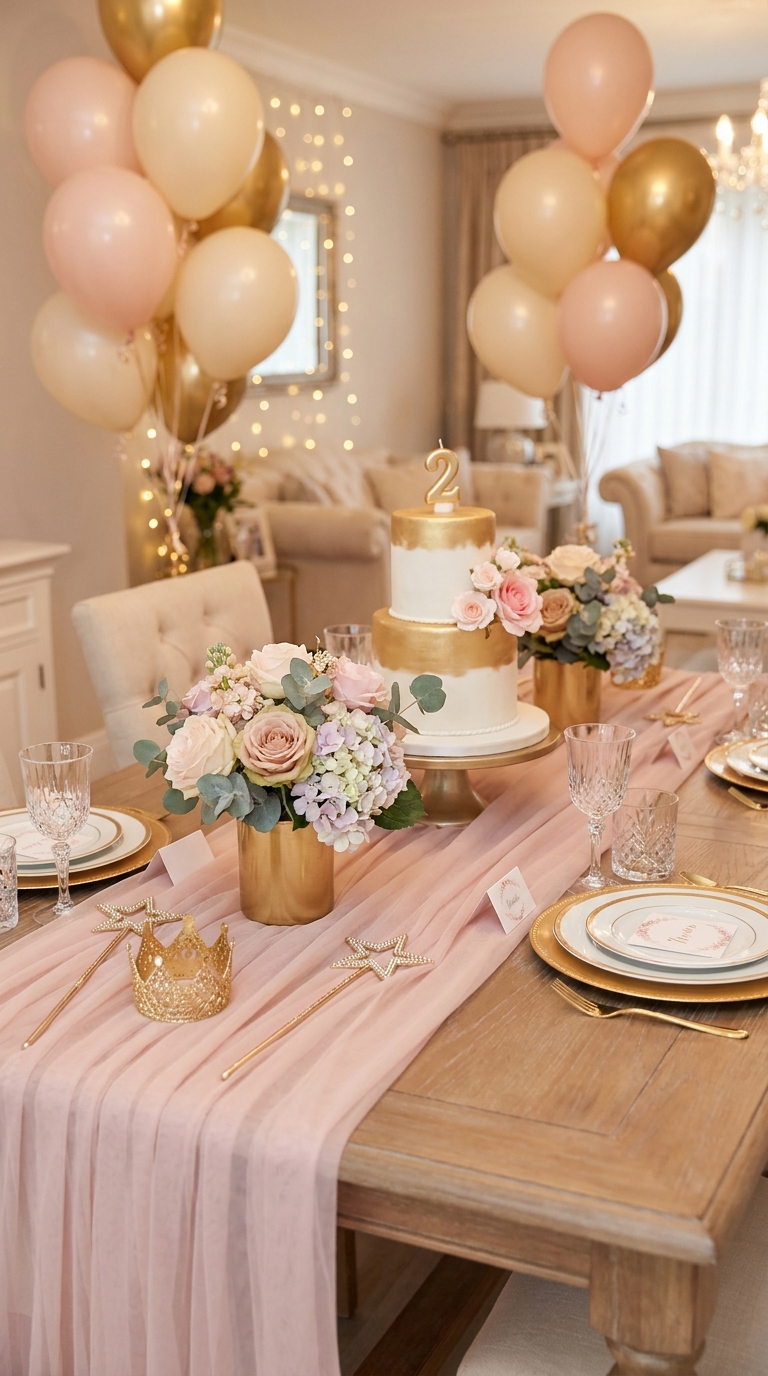
- Use a simple tablecloth in your birthday theme’s color palette.
- Print cute snack labels to identify each treat — free templates exist online.
- Add themed utensils like colorful spoons or forks tied with ribbon.
- Stack treats at different heights using small boxes hidden under the cloth.
These small touches make everything feel intentional and festive. Guests will naturally gather around a well-styled snack table, which means it’s doing decorating work without you lifting another finger. For the dessert centerpiece, consider toddler birthday cupcake designs that are as visually charming as they are easy to display. That’s a budget win worth celebrating.
Make a Paper Plate Wreath Your Toddler Can Help With
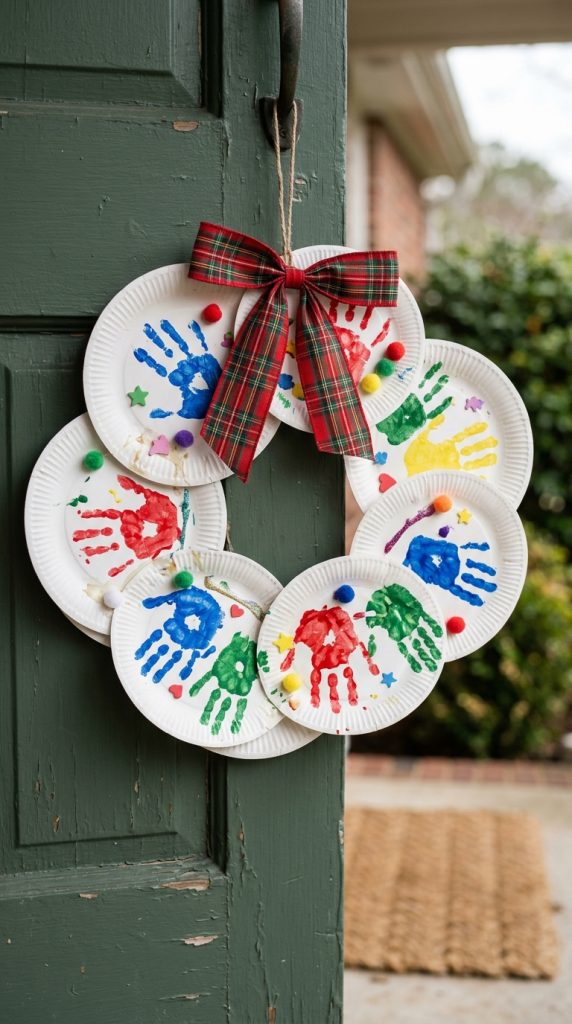
One of the sweetest 2nd birthday decoration ideas involves nothing more than paper plates, some paint, and a toddler with zero fear of making a mess. Let your little one press painted handprints across several paper plates while you handle the wreath crafting itself.
Once the plates dry, fold each one in half and overlap them in a circular shape, securing them with a hot glue gun (your job, not theirs). The layered effect creates a surprisingly full, festive wreath that hangs beautifully on your front door or party wall.
Add a ribbon in your color theme and a small “2” cutout in the center. It costs almost nothing, takes about an hour, and becomes an instant keepsake you’ll genuinely want to keep. While you’re in creative mode, consider setting up a simple playful toddler photoshoot nearby to capture your two-year-old’s personality and the joy of making something together.
Decorate a Birthday Throne Chair Using What You Already Own
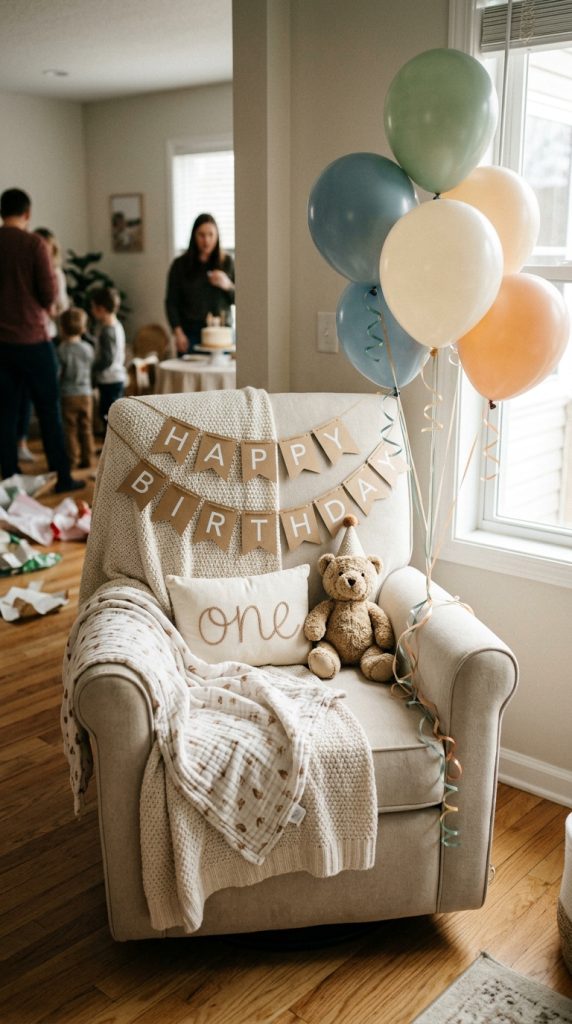
Every toddler deserves a throne on their big day, and you don’t need to spend a dime on a fancy rental chair to pull it off. Grab your favorite armchair and convert it using items already in your home.
Here’s how to style your birthday throne:
- Drape upholstery fabric or a textured blanket over the back and arms
- Stack throw pillows for extra comfort and visual height
- Tie a balloon cluster to one side using ribbon scraps
- Hang a simple “Birthday Star” banner across the top
The result looks intentional and polished, not improvised. Your little one won’t know the difference anyway — they’ll just love having their very own special seat.
Set Up Backyard Decorations for an Outdoor 2nd Birthday
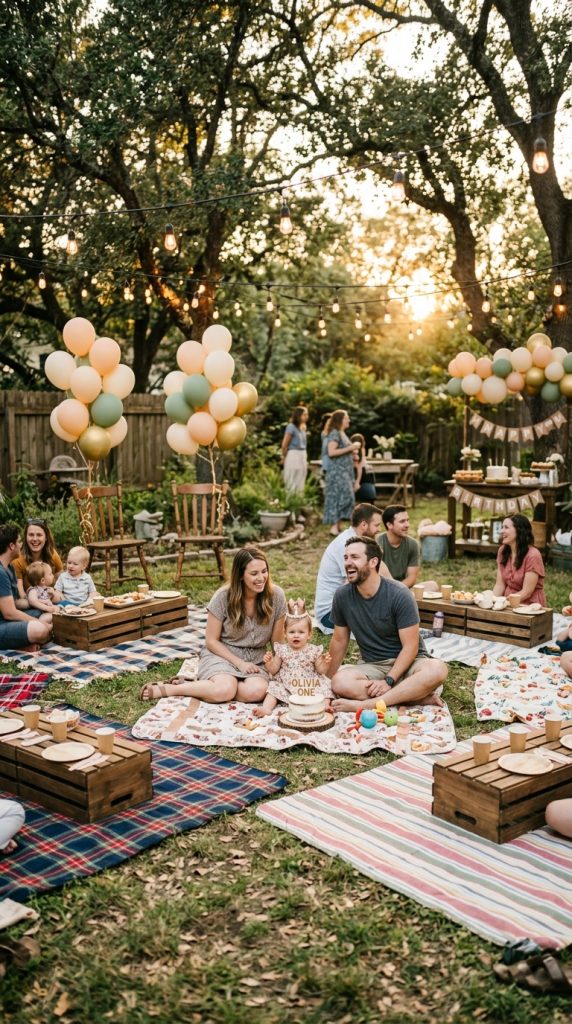
Taking your toddler’s party outside is one of the best decisions you can make — fresh air, open space, and no carpet to scrub clean afterward. Plan your backyard layout by dividing the space into clear zones: one for eating, one for playing, and one for the cake moment.
For your seating arrangement, use picnic blankets and low folding tables so toddlers aren’t climbing up and falling off chairs every five minutes. String some battery-powered fairy lights between trees or a fence for a cheerful, budget-friendly touch.
Balloons tied to chairs or stakes add color without costing much. A simple banner hung between two trees pulls everything together instantly. Keep decorations low and secure — toddlers grab everything, and wind doesn’t help either.
Swap Out One Decoration to Stretch Your Budget Further
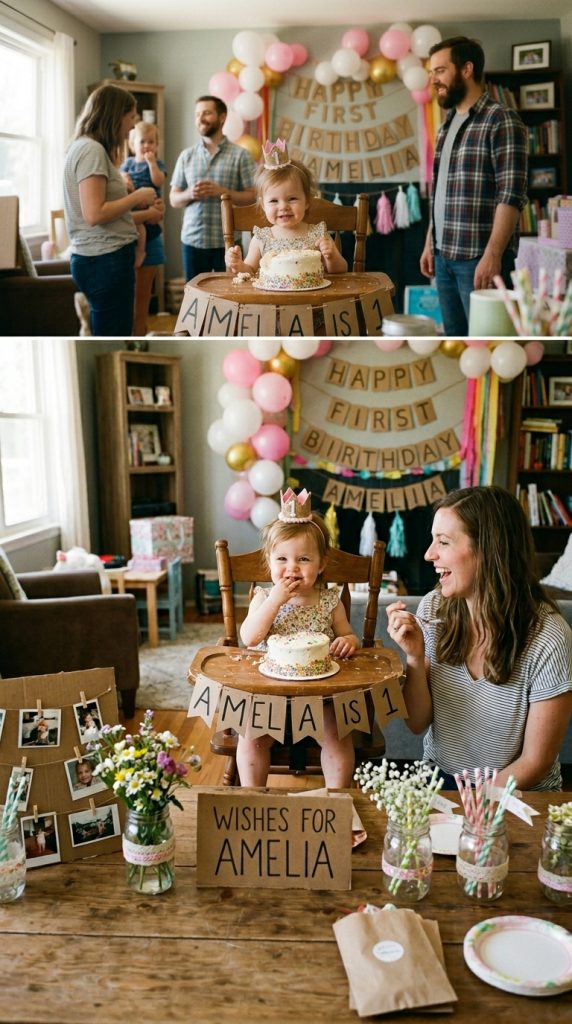
Once you’ve nailed your backyard setup, it’s worth stepping back and asking yourself: do you actually need everything on your decoration list? Probably not. Swapping one pricey item for a smarter alternative stretches your budget without sacrificing style.
Here’s where to start:
- Replace store-bought banners with DIY paper cutouts matching your color scheme
- Skip expensive centerpieces and use thrift store finds like mason jars or vintage trays
- Swap balloon arches for simple, clustered balloon bunches tied to chairs
- Trade themed tablecloths for solid-colored ones you already own
One smart swap can save you $15–$30 easily. That’s cake money, literally. You don’t need everything to look expensive — you just need it to look intentional. And honestly? Guests rarely notice what’s missing.
Frequently Asked Questions
What Is the Best Theme Color for a 2nd Birthday Party?
For your 2nd birthday party, you’ll love pink gold for a glamorous, sweet touch or blue silver for a cool, playful vibe. Both combinations create stunning, budget-friendly decorations that’ll make your little one’s celebration truly magical!
How Far in Advance Should I Start Decorating for the Party?
Don’t wait too long—you’ll regret it! Start decorating one day before, balancing craft timing perfectly. Hang banners early, but prioritize balloon safety by inflating them only hours before guests arrive to keep them fresh!
Are Homemade Decorations Safe Around Curious Toddlers and Young Children?
Yes, homemade decorations can be safe when you follow proper safety precautions. Use these toddler proofing tips: avoid small pieces, secure loose items, skip sharp edges, and you’ll keep curious little ones protected during the celebration.
Can I Reuse These Budget Decorations for Future Birthday Parties?
Yes, you can absolutely reuse them! Don’t worry about quality fading — eco friendly materials hold up well. Get creative with repurposing banners, centerpieces, and garlands for future celebrations, saving you money each time.
How Do I Store Leftover Decorations After the Party Ends?
Store your leftover decorations in storage bins or sealing bags to keep them organized and protected. You’ll want to label each container clearly, so you can easily find specific items when you’re planning your next birthday party!
Conclusion
You don’t need a genie’s lamp to pull off a magical second birthday. With a little creativity and a tight budget, you’ve got everything you need. From balloon garlands to streamer ceilings, these ideas prove that the best celebrations aren’t bought—they’re built. So grab your scissors, raid the dollar store, and make it happen. Your toddler won’t remember the price tag, but they’ll feel every bit of the love.